Address
304 North Cardinal St.
Dorchester Center, MA 02124
Work Hours
Monday to Friday: 7AM - 7PM
Weekend: 10AM - 5PM
Address
304 North Cardinal St.
Dorchester Center, MA 02124
Work Hours
Monday to Friday: 7AM - 7PM
Weekend: 10AM - 5PM


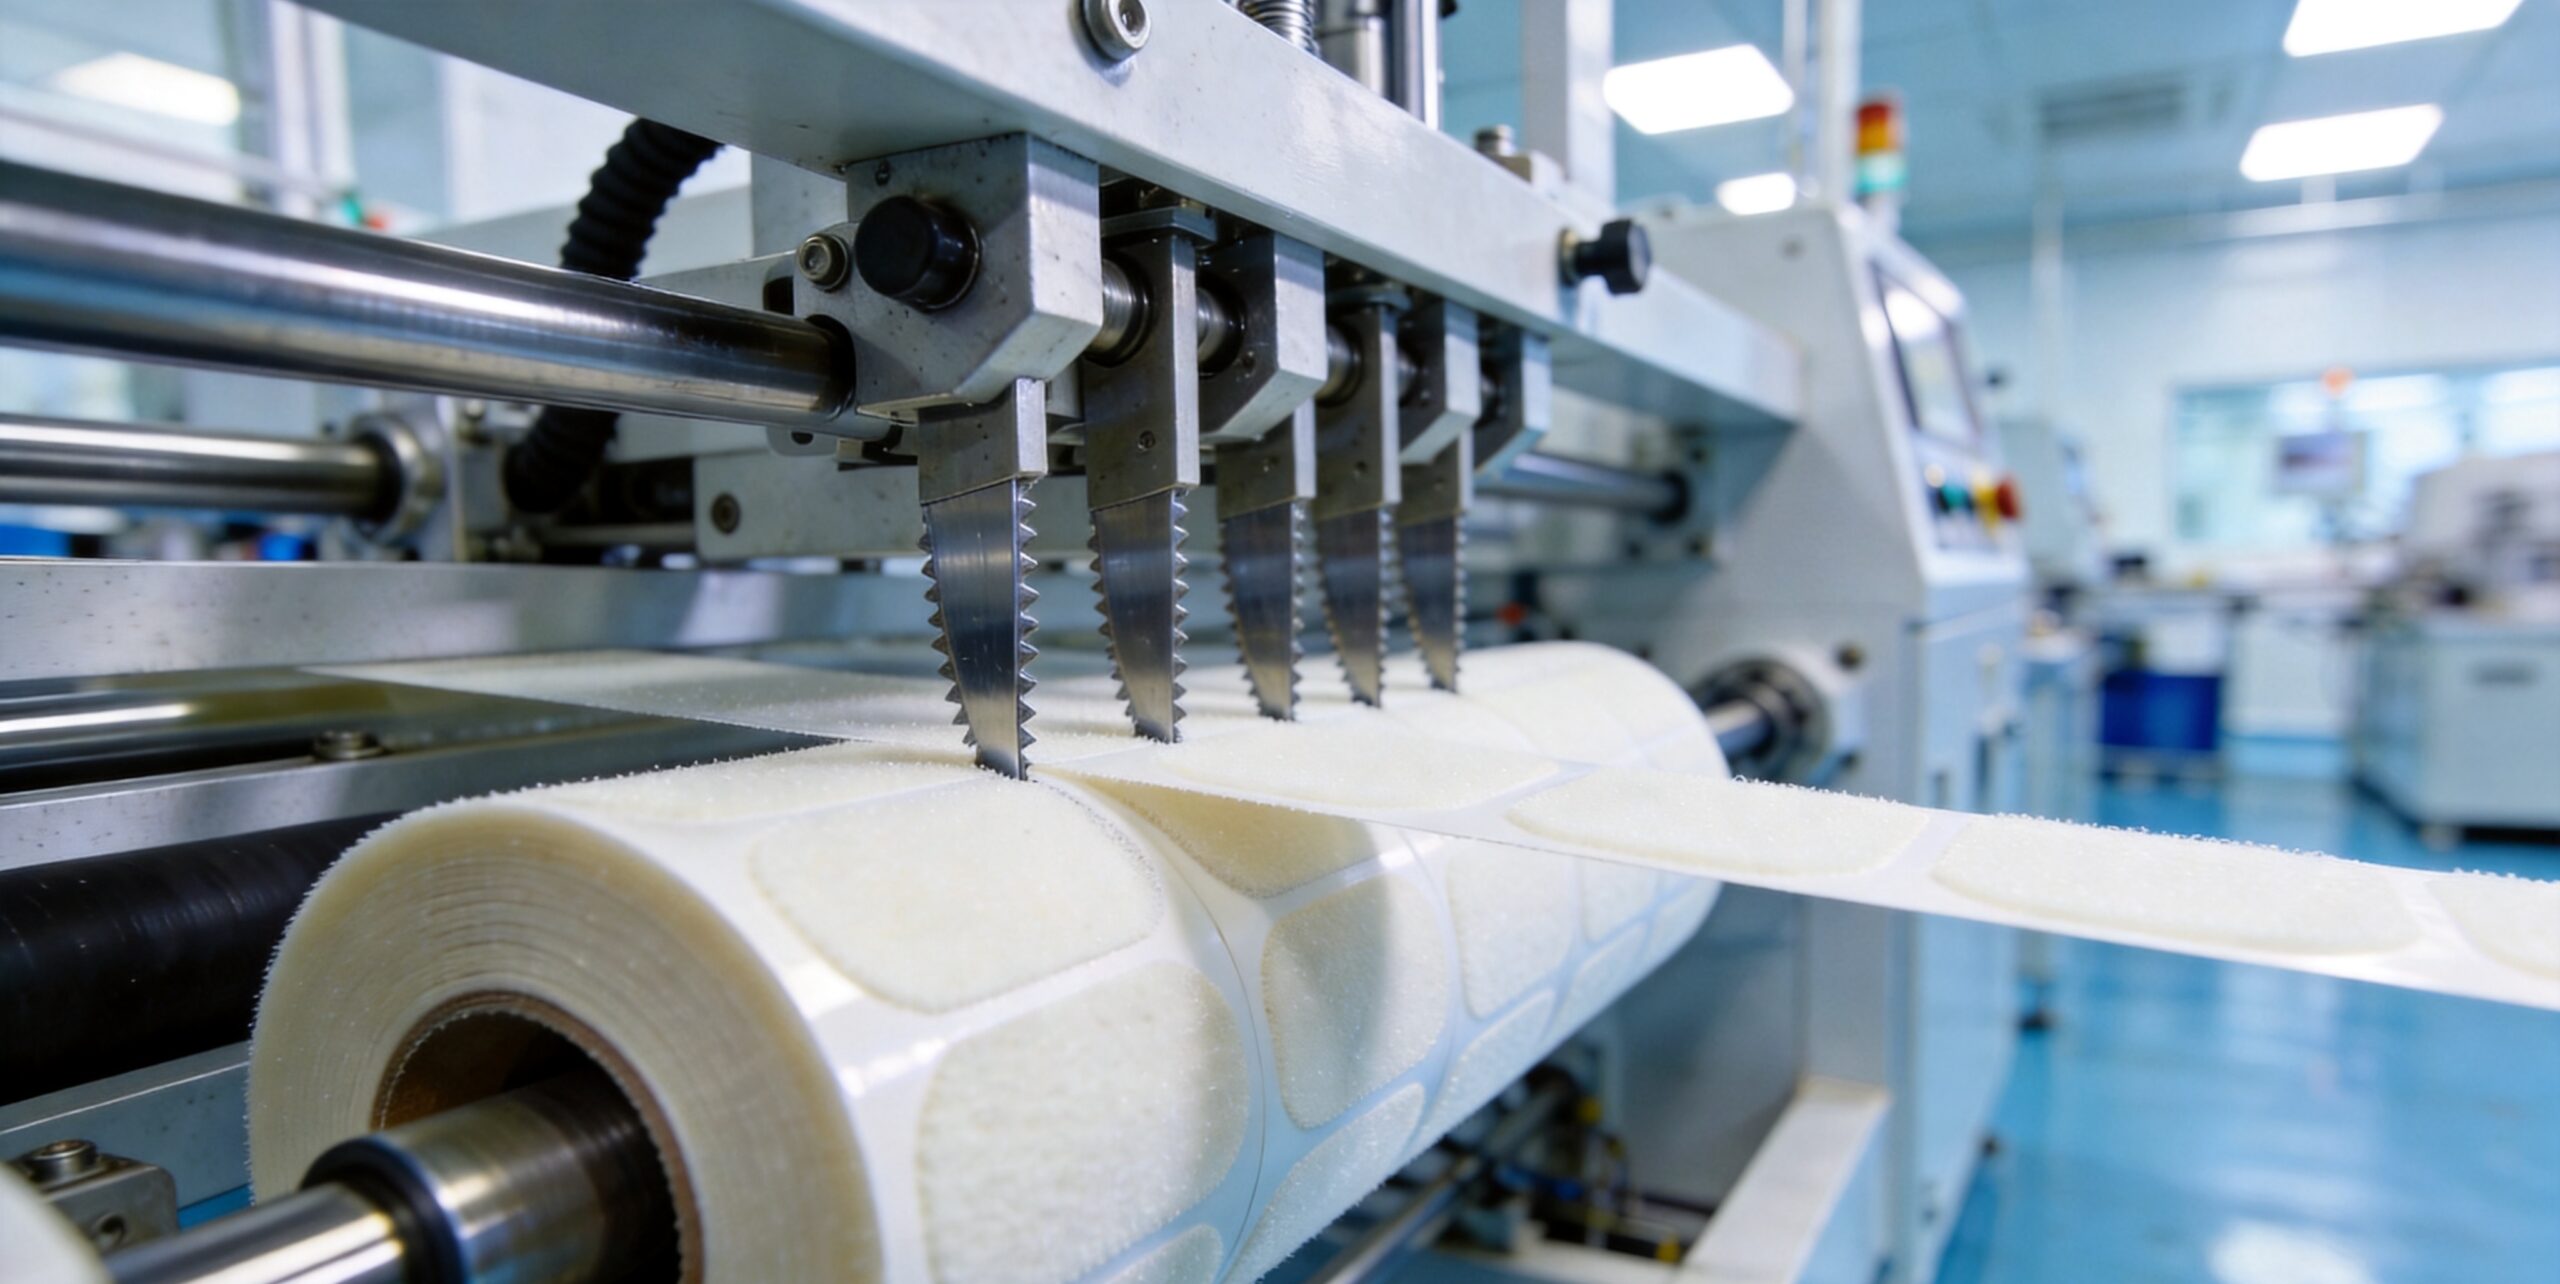
Learn how to prevent adhesive overflow in precision die-cutting. Discover proven process controls, blade geometry, and material selection tips from CoreBond Tape.
Precision die-cutting is the backbone of modern adhesive tape conversion, but even experienced engineers face a recurring nightmare: adhesive overflow. When excess adhesive squeezes beyond the intended cut line, it contaminates mating surfaces, blocks pick-and-place nozzles, and triggers costly rework in electronics, automotive, and appliance assembly lines.
In this guide, we break down the root causes of adhesive overflow in precision die-cutting, share proven process controls, and show how the right material-tooling pairing eliminates the problem before it starts.
Adhesive overflow occurs when pressure from the die-cutting process forces adhesive to extrude past the blade edge, creating a thin, sticky residue along the perimeter of the finished part. In high-tolerance applications, even a 0.1 mm overrun can:
For automotive interior trim, consumer electronics bezels, and medical device housings, these defects are not cosmetic—they are functional failures.
The most common culprit. Over-compressing the tape stack squeezes the adhesive layer outward. Ideal penetration depth depends on substrate thickness and adhesive formulation:
Blade angle, bevel direction, and edge radius directly influence cut quality:
High-flow adhesives (soft tackified acrylics, hot-melt PSA) are more prone to cold-flow extrusion under pressure. Low-Tg (glass transition) formulations require tighter process windows.
Silicone-coated release liners with uneven coating weight or inadequate anchorage can delaminate during cutting, allowing adhesive to smear onto the die face and redeposit on subsequent parts.
The following TDS-style parameter table summarizes the critical controls we implement at CoreBond Tape to maintain ≤0.05 mm edge overrun on 95% of production lots:
| Parameter | Recommended Range | Test Method | Impact on Overflow |
|---|---|---|---|
| Die Penetration Depth | 60–80% of stack height | Digital height gauge ±5 µm | Direct: over-penetration = extrusion |
| Blade Edge Angle | 30–60° (material-dependent) | Optical microscope / SEM | Steep angles reduce lateral adhesive push |
| Cutting Speed | 15–45 m/min (kiss-cut) | Tachometer / encoder feedback | High speed increases shear heating and flow |
| Anvil Hardness | Shore D 75–85 | Durometer ASTM D2240 | Soft anvils allow over-penetration |
| Adhesive Coat Weight | ±5% of nominal | Gravimetric (g/m²) | High coat weight raises overflow probability |
| Adhesive Viscosity @ RT | 5,000–25,000 cP | Brookfield viscometer | Low viscosity = high flow under pressure |
| Release Liner Peel Force | 10–50 g/25mm | ASTM D3330 (180° peel) | Too low = liner lift during cutting |
| Operating Temperature | 18–24°C (±1°C stability) | Thermocouple / IR camera | Heat increases adhesive tack and flow |
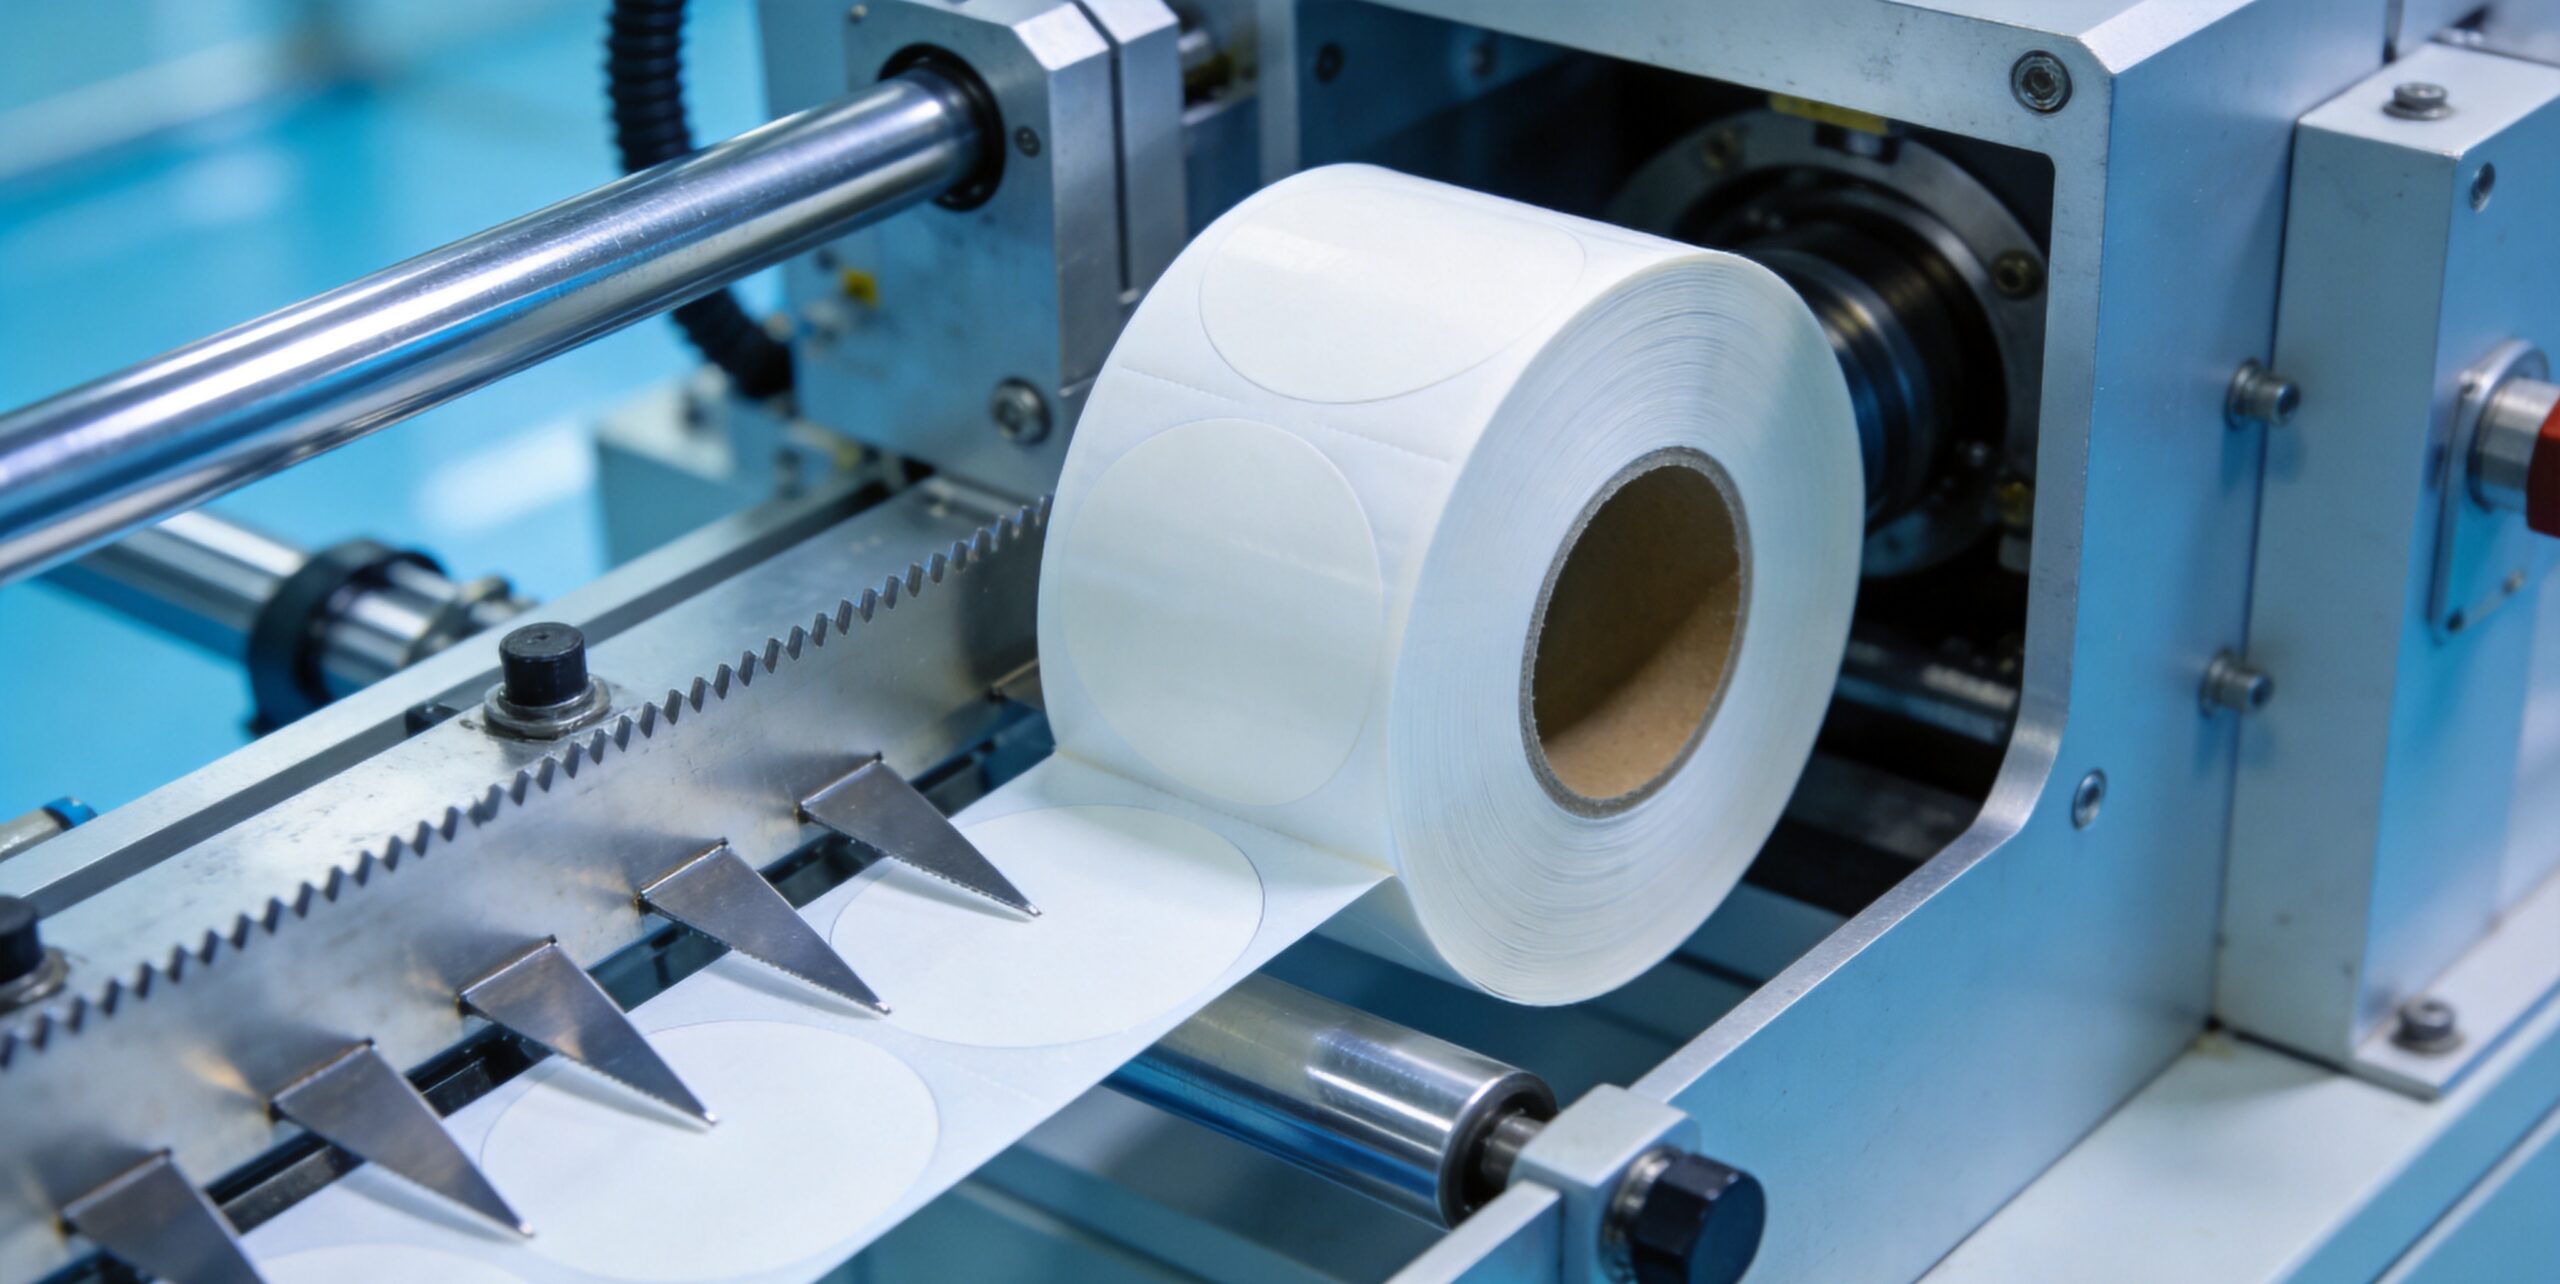
For double-sided tapes and transfer adhesives, kiss-cutting (cutting through the tape without cutting the release liner) is the gold standard. Key settings:
For high-tack acrylic and rubber-based PSAs, we deploy liquid-cooled die plates maintained at 10–15°C. Lowering the adhesive temperature by 8–12°C reduces cold-flow extrusion by up to 60% without impacting tack or peel performance. For formulations that must survive extreme service temperatures, our high-temperature double-sided tape selection guide covers the matching process controls.
Every CoreBond Tape production line integrates AOI (Automated Optical Inspection) with 5 µm resolution. The system flags edge-overrun parts in real time, triggering automatic reject gates. This achieves ppm-level defect rates on automotive-grade lots.
Not all adhesives behave the same under die-cutting stress. If you are still shortlisting materials, start with our guide to choosing industrial double-sided tape for metal and plastic bonding. Here is a quick-reference guide:
| Adhesive Type | Die-Cutting Behavior | Best For | Overflow Risk |
|---|---|---|---|
| Acrylic PSA (solvent) | Clean cut, moderate flow | Electronics, general industrial | Low–Moderate |
| Acrylic PSA (emulsion) | Soft edge, higher flow | Labels, temporary bonding | Moderate–High |
| Silicone PSA | Very low tack, clean cut | High-temp, medical, silicone surfaces | Low |
| Rubber-based PSA | High tack, high flow | Foam bonding, automotive trim | High |
| UV-curable PSA | Rigid after cure, no flow | Structural bonding, display assembly | Very Low |
When overflow tolerance is critical, specify a cross-linked acrylic or UV-curable formulation with Shore A hardness above 65 after cure.
At CoreBond Tape, adhesive overflow is not a problem we solve after the fact—it is a variable we eliminate at the design stage.
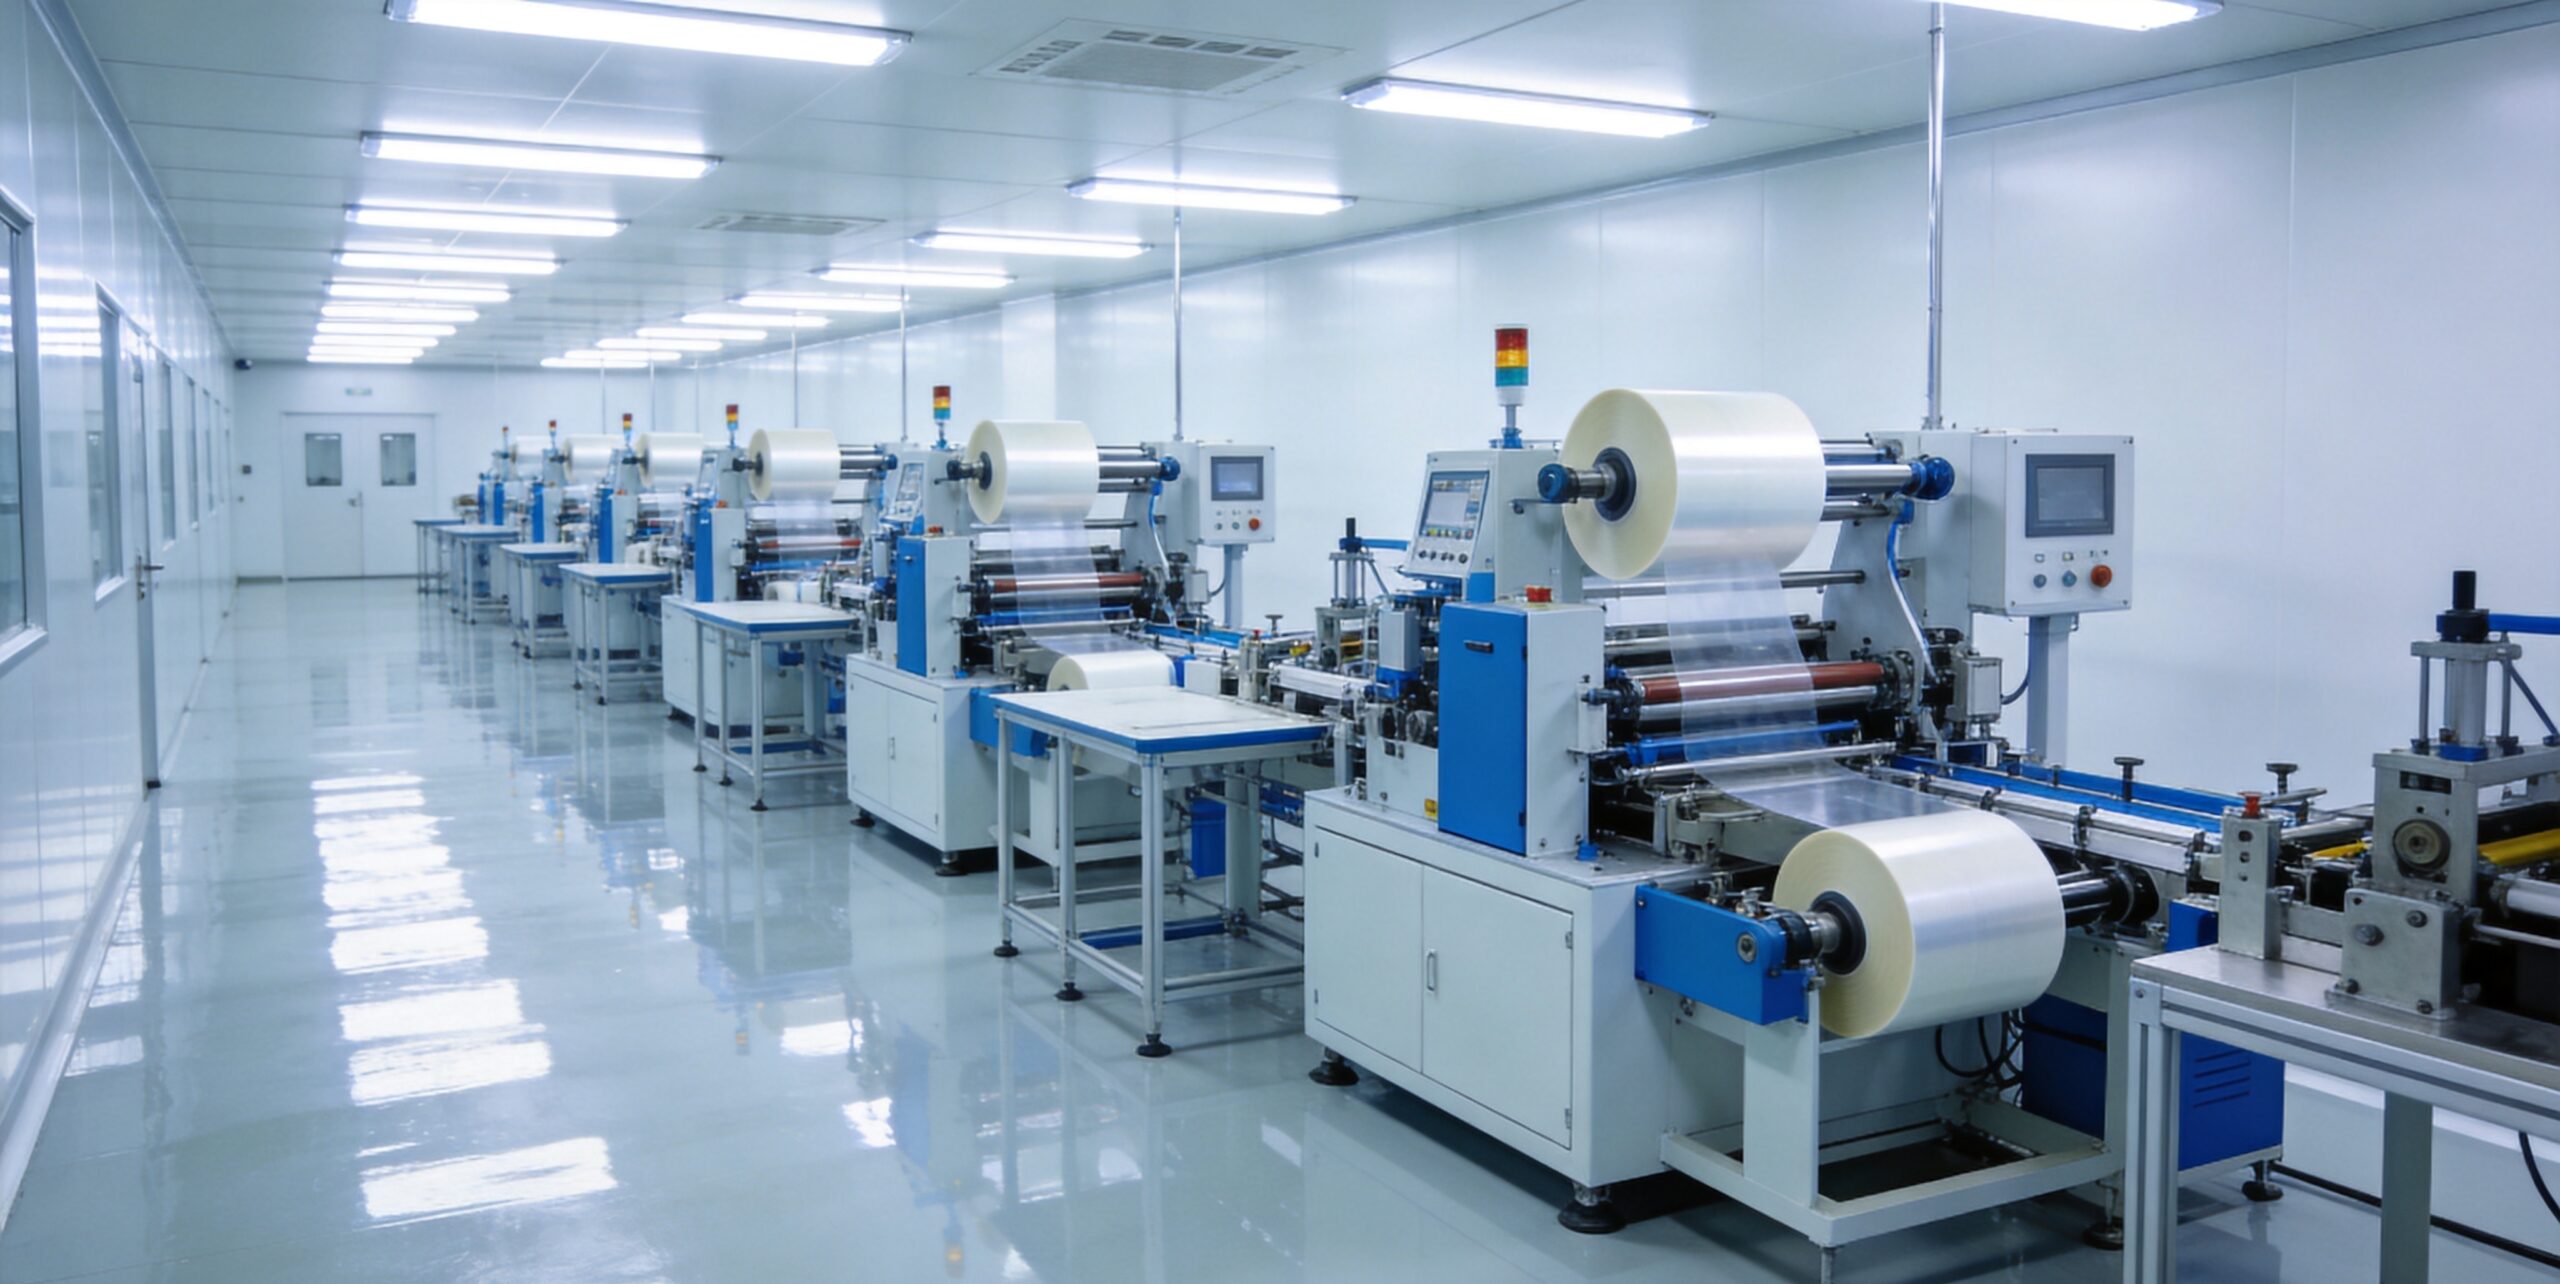
Need a custom die-cut sample or technical consultation for your project? Contact the CoreBond engineering team today for free samples and fast quotes. More die-cutting and material-selection guides live in our Product & Tech collection.
{“@context”: “https://schema.org”, “@type”: “BlogPosting”, “headline”: “How to Avoid Adhesive Overflow in Precision Die-Cutting: A Complete Process Guide”, “description”: “Learn how to prevent adhesive overflow in precision die-cutting. Discover process controls, blade geometry, and material selection tips from CoreBond Tape experts.”, “url”: “https://corebondtape.com/avoid-adhesive-overflow-precision-die-cutting/”, “datePublished”: “2026-10-22T07:45:50+00:00”, “dateModified”: “2026-10-22T08:14:59+00:00”, “author”: {“@type”: “Organization”, “name”: “CoreBond Tape Team”}, “publisher”: {“@type”: “Organization”, “name”: “CoreBond Tape”, “logo”: {“@type”: “ImageObject”, “url”: “https://corebondtape.com/wp-content/uploads/2026/10/cleanroom-panorama-final-scaled.jpeg”}}, “mainEntityOfPage”: {“@type”: “WebPage”, “@id”: “https://corebondtape.com/avoid-adhesive-overflow-precision-die-cutting/”}, “image”: {“@type”: “ImageObject”, “url”: “https://corebondtape.com/wp-content/uploads/2026/10/cleanroom-die-cutting-final-scaled.jpeg”, “width”: 2560, “height”: 1440}}
